Tinybird is a modern real-time data platform designed specifically for data engineers.
It empowers data teams to effortlessly ingest streaming & batch data, develop data products using standard SQL, and publish the results as high-concurrency, low-latency HTTP APIs.
If you're a Tinybird user though, you're probably wondering how you can add GraphQL Edge Caching to a non-GraphQL API. What you probably didn't know is that Grafbase can automatically create GraphQL APIs for Tinybird using its OpenAPI spec.
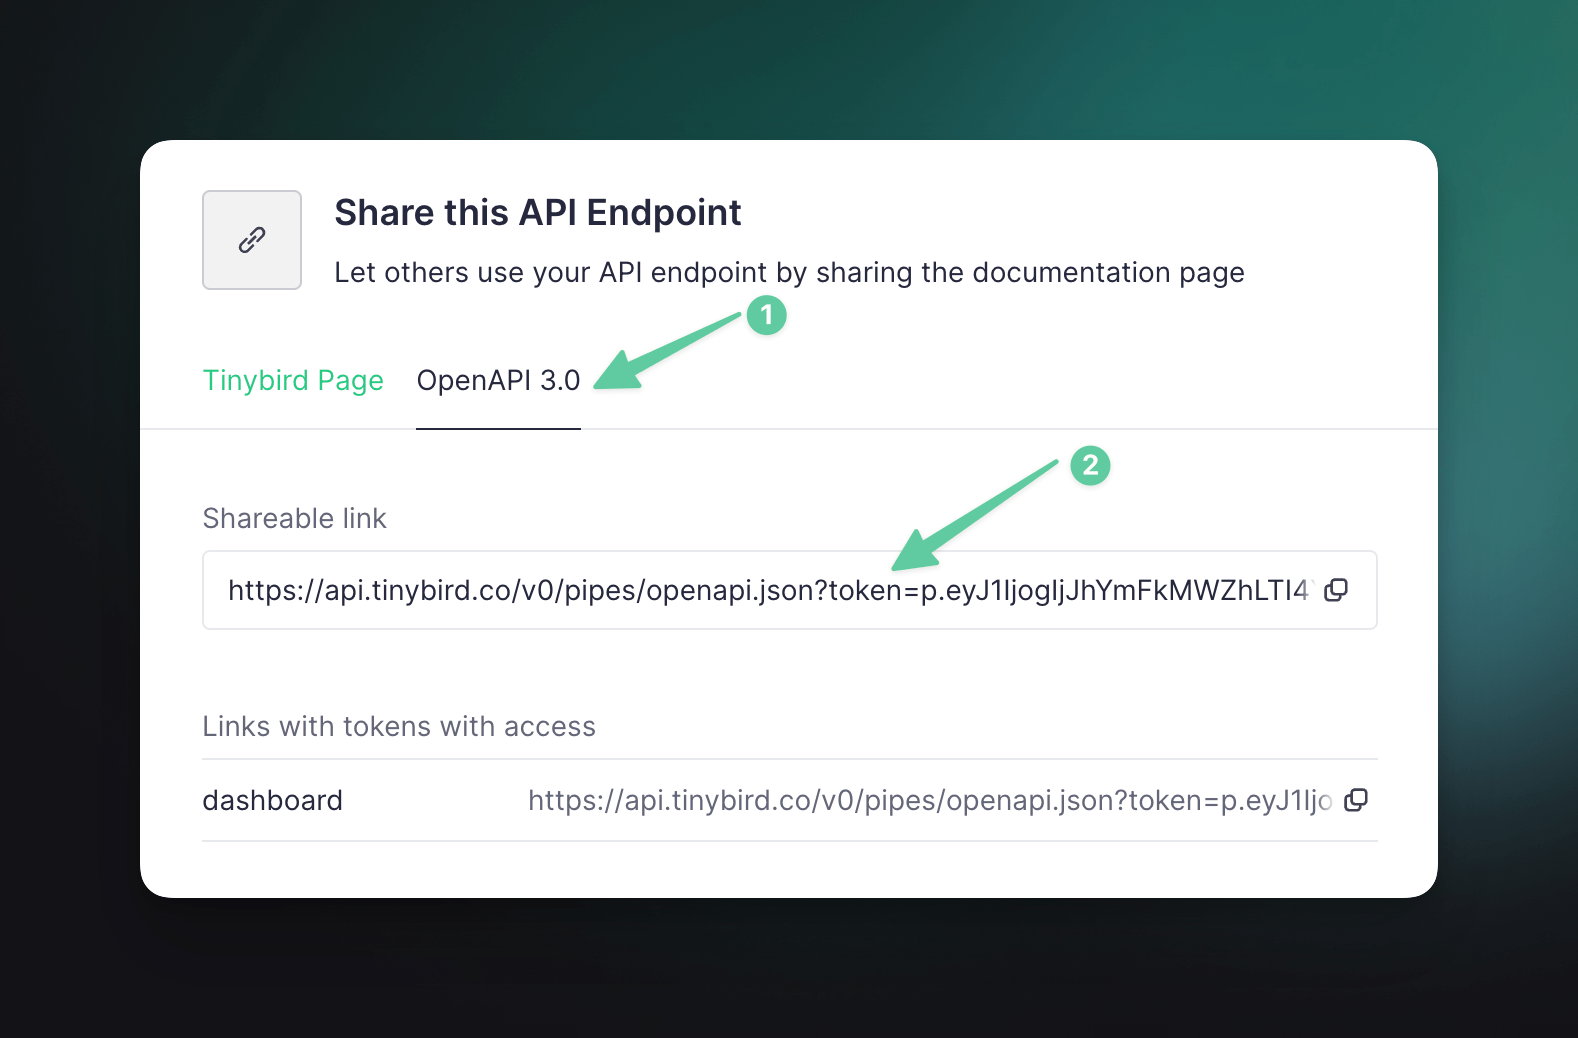
You'll need your OpenAPI 3.0 API Endpoint from the share docs screen of a pipe, it should look something like this:

Get started locally
Inside a new or existing directory, run the following:
npx grafbase init --template openapi-tinybird
Grafbase will then create a new folder grafbase inside the current directory. Open the file grafbase/grafbase.config.ts and inspect its content, it should look something like this:
import { g, connector, config } from '@grafbase/sdk'

const tinybird = connector.OpenAPI({
  schema: g.env('TINYBIRD_API_SCHEMA'),
  headers: (headers) => {
    headers.set('Authorization', { forward: 'Authorization' })
  },
  transforms: { queryNaming: 'OPERATION_ID' }
})

g.datasource(tinybird)

export default config({
  schema: g,
  cache: {
    rules: [
      {
        types: ['Query'],
        maxAge: 60
      }
    ]
  },
  auth: {
    rules: (rules) => {
      rules.public()
    }
  }
})
This configuration by default will create a new data source within the Grafbase GraphQL API that generates a GraphQL Schema and API for the Tinybird API Schema you provided.
The configuration will also:
Add Tinybird as a data source
- Automatically generate GraphQL schema/API from OpenAPI schema
Cache all queries for
60secondsEnable public access to the Grafbase Edge Gateway
Forward
Authorizationheader to Tinybird
If you'd prefer not to pass the Authorization header with requests from the client, you can also set the Authorization to use an environment variable stored by Grafbase:
const tinybird = connector.OpenAPI({
  schema: g.env('TINYBIRD_API_SCHEMA'),
  headers: (headers) => {
    headers.set('Authorization', `Bearer ${g.env('TINYBIRD_API_TOKEN')}`)
  },
  transforms: { queryNaming: 'OPERATION_ID' }
})
Next, make sure to add your Tinybird API Schema URL (and optional API Token) to grafbase/.env:
TINYBIRD_API_SCHEMA=

# Only if you set the Authorization header with a static value
# TINYBIRD_API_TOKEN=
Finally, use the Grafbase CLI to start the development server and automatically generate a GraphQL API for Tinybird:
npx grafbase dev
You now have a GraphQL API running locally that acts as a proxy to Tinybird! 🎉
You can execute any GraphQL query using the new endpoint: http://127.0.0.1:4000/graphql.
http://127.0.0.1:4000 where you can explore the Grafbase Edge Gateway API and schema.grafbase folder with the rest of your application.Deploy to Production
You can continue to use the Grafbase CLI when building locally to proxy your Tinybird API but you will need to deploy to production to take advantage of GraphQL Edge Caching.
Follow these steps to deploy to production:
Signup for an account at grafbase.com
Visit grafbase.com/new to create a new project
Connect and deploy your application where the
grafbasewas addedMake sure to add your
TINYBIRD_API_SCHEMA(and optionalTINYBIRD_API_TOKEN) when deployingUpdate your host (Netlify, Vercel, Fly, etc.) with the new GraphQL API endpoint that Grafbase supplied for your new project.
That's it!
Grafbase is programmed to autonomously deploy a fresh gateway each time it identifies a change to grafbase/grafbase.config.ts. Consequently, if you need to adjust any cache settings, including parameters like maxAge, staleWhileRevalidate, and mutationInvalidation, you’re free to do so.
Grafbase will handle the rest of the process seamlessly. We'll explore extending the Tinybird API with custom fields in another post.
#GrafbaseHackathon

